How to create a Ring Group
Please navigate to:
- Telephony Settings
Choose your PBX from under the Phone System Installs heading

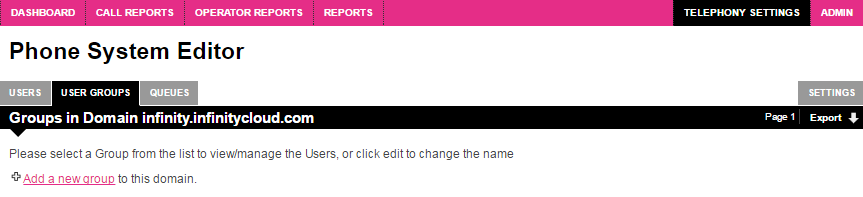
Click on the User Groups tab
Select Add a new group


- Display Name: A visual identifier for the group
- Group Name: Similar to the username, will become the first part of the SIP address. This must be lowercase with a full stop between words, e.g. sales.team
- Extension Number: Choose a unique 4-digit reference number
- Caller Name Format: You can free type here what you would like to be pushed over Caller ID to the handset of your PBX users. Alternatively, hover over the tooltip (i) to see options available. For example, entering {displayName}, which is case sensitive, would pull in whatever you have entered into the first field (Display Name) and display this to your PBX users instead of the Caller ID. If you choose not to fill this field in, or enter {srcPhoneNumber} into this field, then the standard Caller ID of the caller will display to your PBX users when their handsets ring.
- Group Type: Please select most appropriate option from the drop-down menu

Don't forget to Save Changes when you are ready


